Using Webmail
Email Actions
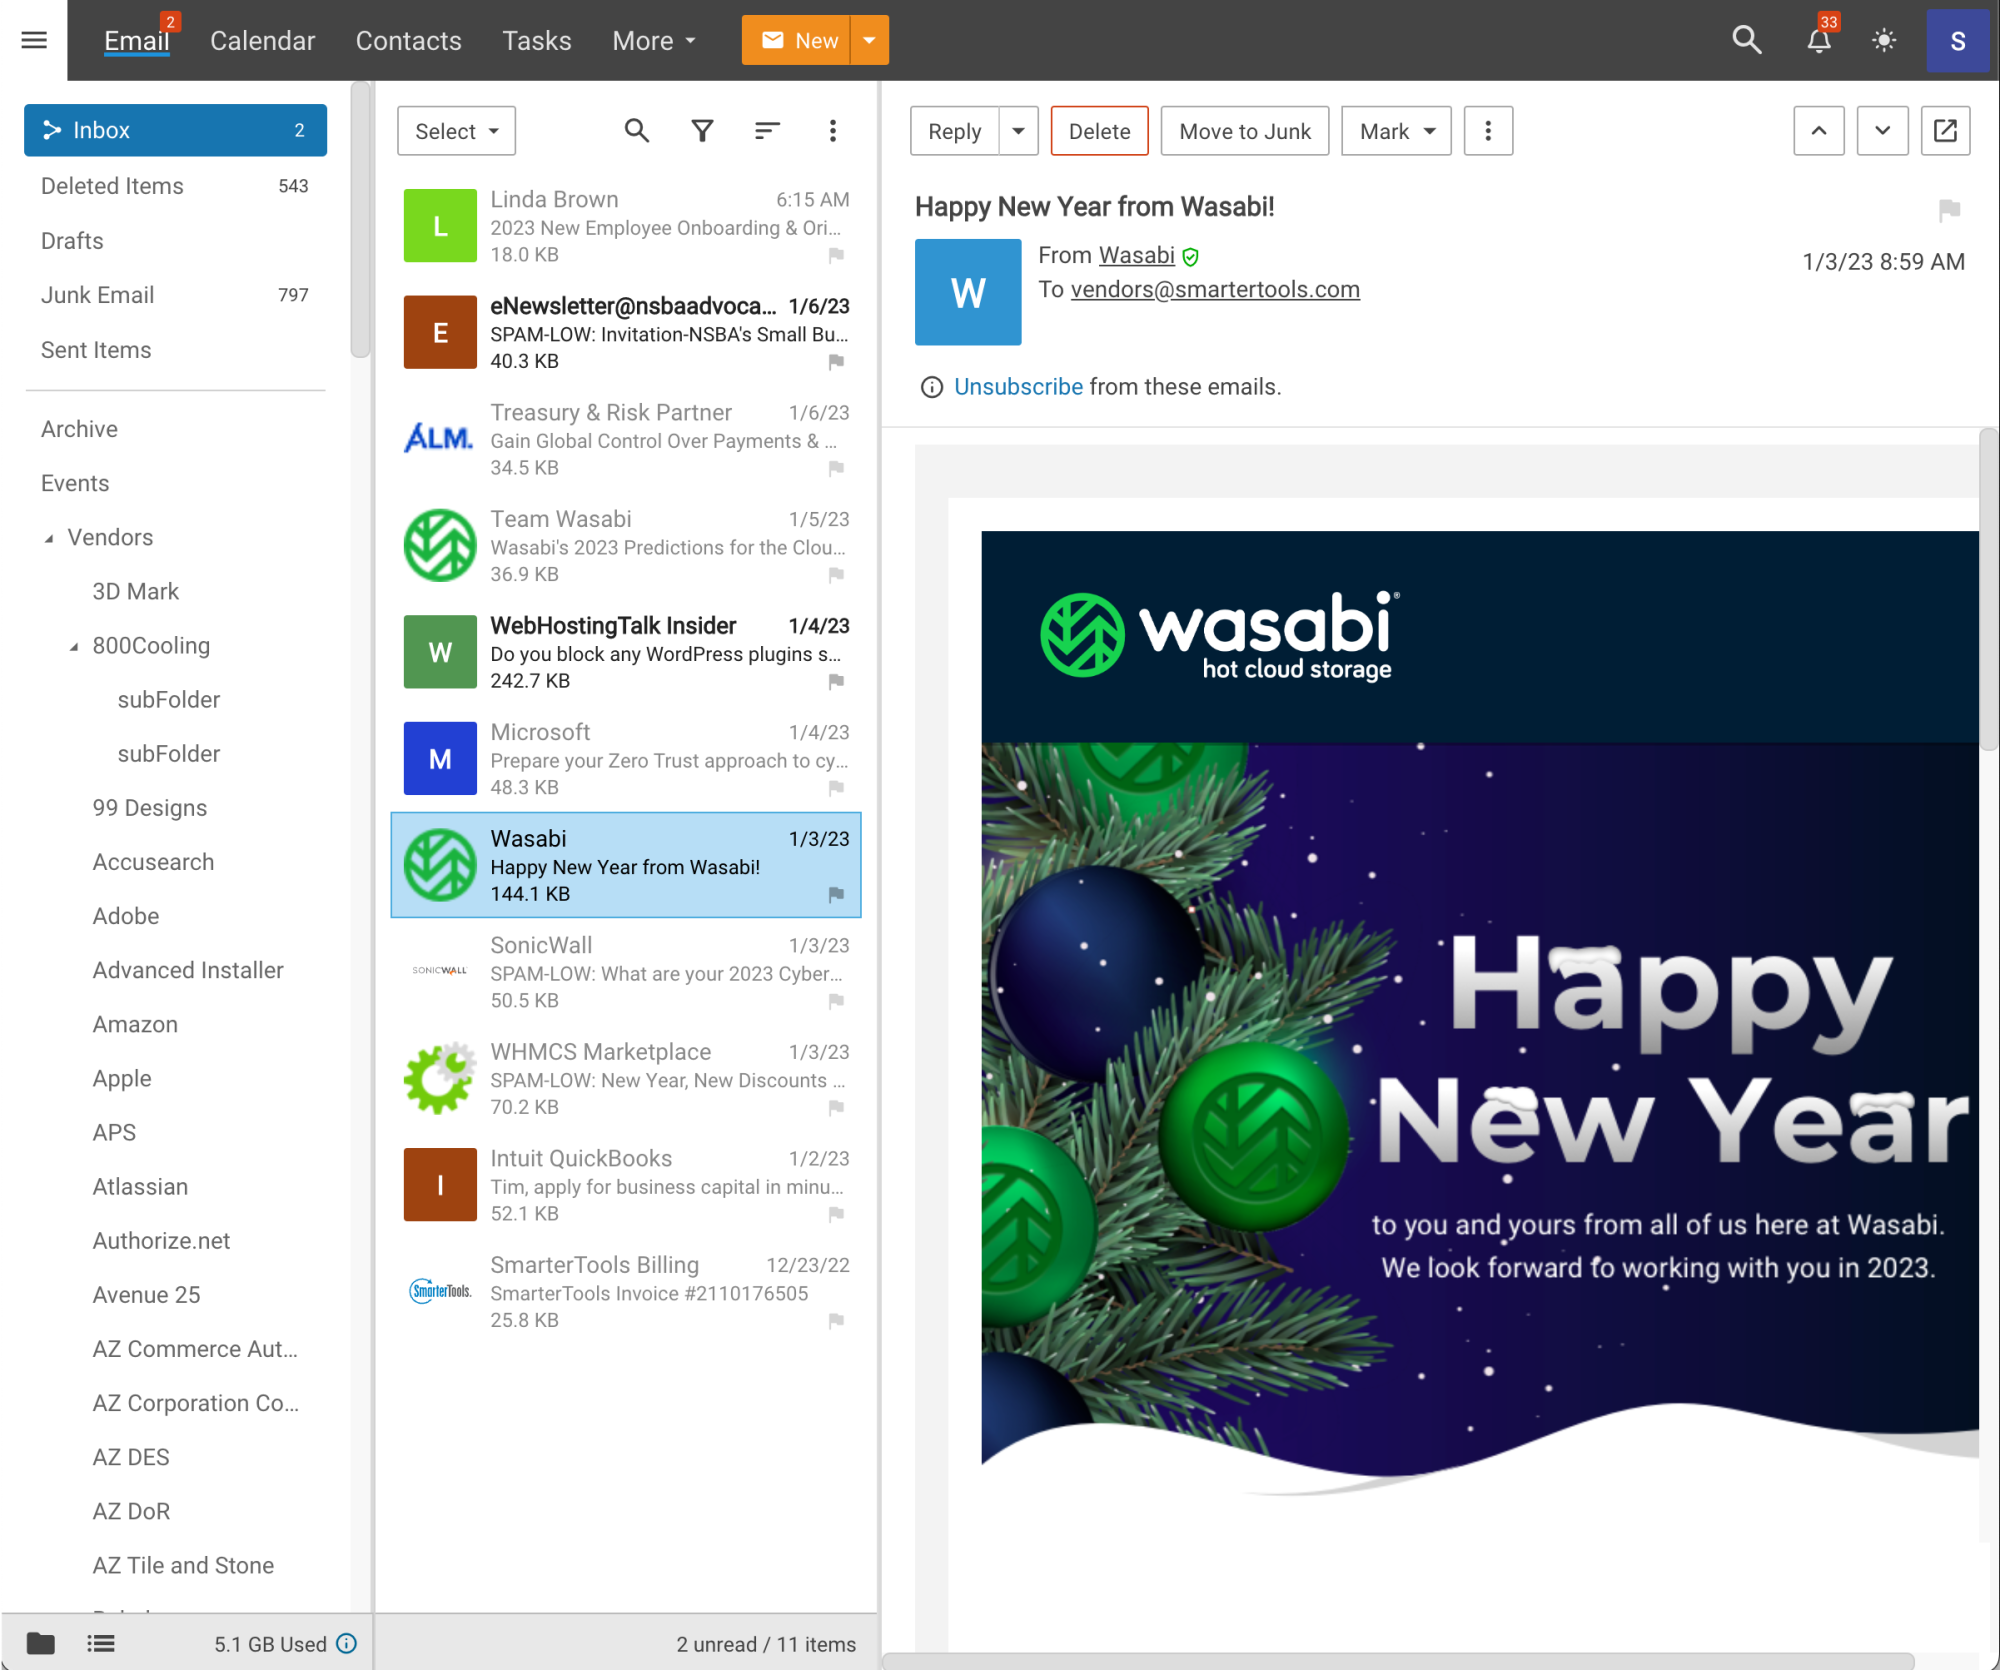
Using the Actions (⋮) button allows you to perform several actions including the following:
- Flag / Unflag – Either marks or unmarks the selected message(s) for follow-up and changes the color of the follow-up flag appropriately. Alternatively, users can click on the flag icon next the message to add or remove a flag.
- Move to Junk – Moves the email to your Junk Email folder, and also helps the system recognize the sender and message contents as possible spam.
- Trust Sender – Adds the address to your Trusted Senders list, meaning any future emails from this address will bypass most antispam options enbaled for the server. (NOTE: SPF and DKIM still run against any address in the Trusted Senders list to prevent phishing.)
- Untrust Sender – Only available of the sender is on your Trusted Senders list; This removes them from that list.
- Block Sender – Prevents the sender of the selected message(s) from sending any more messages to the account. When you block a sender, a new Internal Blocked Senders Content Filter is created. Any user you block is added to that list, and their email is, by default, deleted.
- Unblock Sender – Allows the sender of the selected message(s) to begin sending messages again by removing the address from the Internal Blocked Senders content filter.
- Download EML – This allows you to download and preserve the message in the format it was received by the mail server. EML files can be used for troubleshotting delivery issues, or sent to others and opened using any desktop email client.

Managing Email Folders
On first glance, webmail users will notice that their mailbox has five special-purpose, permanent folders that can’t be removed or renamed. These folders will reside at the top of the folders list as well as being listed with any other folders a user creates. These include:
- Inbox – All incoming messages automatically go to your Inbox folder.
- Deleted Items – When you delete messages, by default they’re moved to the Deleted Items folder. Messages in the Deleted Items folder will be deleted completely after 45 days.
- Drafts – This folder holds messages that you’ve composed but haven’t sent yet. A message saved in your Drafts folder stays there until you either send it or delete it.
- Junk Email – Messages our system believes to be junk mail bypass your inbox and go to the Junk Email folder. You should periodically check this folder to ensure that valid messages were not accidentally delivered to the Junk Email folder. If you find valid emails in your Junk Email folder, you can move them back to your Inbox by either dragging them to the Inbox or using the right-click context menu. If the sender is someone you know, you can also add them as a Trusted Sender using the right-click menu, thereby skipping most spam checks for messages from that sender in the future. Your Junk Email folder will only keep messages for 45 days before deleting them.
- Sent Items – All outgoing messages are automatically saved to your Sent Items folder, making it easy to review or resend a message if necessary. Note: Messages sent from a third-party client such as Outlook may or may not be saved in the Sent Items folder. It is dependent on the protocol used to connect that client.
Searching Email Messages
Webmail indexes all of the messages you receive, regardless of how you organize them in your folders. As long as the message hasn’t been deleted and purged from your account, the search tool will find emails quickly and easily.
To perform a search, first go to the folder you want to search in. This can be your Inbox, Sent Items, Drafts, any of the custom folders you create for organizing your messages, or shared folders. Next, type the search criteria in the search bar located near the top of the messages view for that folder. Then use the magnifying glass or press Enter on your keyboard. Webmail will automatically search the the messages within the folder you are viewing for matches and display the results. Note: Your search criteria may include letters and numbers. Webmail does not search for special characters such as “@,” “#” or “%.”
Deleting Email Messages
Webmail offers a few different methods for deleting messages:
- You can delete them using the Delete button in the webmail interface,
- You can right-click on the message(s) and select “Delete” from the context menu that appears, or
- You can use the Delete key on your keyboard. (Not the Backspace key, but the Delete — or Del — key.)
(NOTE: Messages deleted from the Junk Email folder are always permanently deleted and do not follow the Delete Actions that are set.)
These options include:
- Move to Deleted Items Folder – When items are deleted they are moved to the Deleted Items folder. If the Deleted Items folder does not exist, it will be created automatically the first time you delete a message. Messages in your Deleted Items folder will be automatically deleted permanently after 45 days.
- Permanently Delete – This option will permanently purge the messages after deleting them. Note: When permanently deleting messages, the action is final. You will not be able to retrieve these messages later.
- Mark as Deleted – When the message is deleted with this option, the message remains in the current folder, but will be crossed out and marked as deleted. Once the Purge Marked as Deleted option is chosen from the Delete button dropdown in your inbox, all items marked for deletion will be permanently removed.
It is important to note that the action taken for deleted items will ONLY be taken when deleting items through webmail.
Undeleting Messages
Didn’t mean to delete a message? You can retrieve deleted messages from your Deleted Items folder as long as the system hasn’t been purged yet. Just open the Deleted Items folder and select the desired message(s). Then, simply click the arrow next to the Delete button in the webmail interface and select Undelete from the dropdown. You can also right click on one of the selected messages and choose “Undelete” from the contextual menu that appears.
Sender Verification Shield
Next to the sender’s name and/or address is the Sender Verification Shield. By default, the email server checks a number of things to attempt to validate that the sender is who they say they are. Things like DMARC, DKIM, SPF, trusted sender status, whether the user is authenticated on the server, and whether they’re listed in your Contacts are all used to verify that Tom@Business-A.org, for example, IS actually Tom from Business-A.org. Moving your mouse over the shield opens a window that tells you whether the sender is likely the sender or not, and what checks were performed and their status.
The shield is color coded based on the sender’s validity score:
- Green – The email passed DMARC, DKIM, and SPF, and is either a trusted sender or an existing contact.
- Gray – The email was sent from an address that failed one or more of the checks, or passed them but is NOT a trusted sender or an existing contact.
- Red – The email may not have been sent from an authentic account.
Now, this simply attempts to validate the sender. It’s no indication that the person sending the message is doing so with bad intent or that the message itself is okay. It is an indication of the status of the sending server and the sender’s address. Things like improperly configured or missing DKIM and/or SPF records can lead to a red shield. In addition, even if a sender displays a green shield, it doesn’t mean the message is NOT spam.
The Sender Verification Shield is just another tool at a user’s disposal, hopefully letting them know to take extra care when clicking links or downloading an attachment from an email from a suspect sender.

Viewing External Content
External content is considered to be any image, video, animated gif, etc. that has an external source and is contained in an email. When remote content is included in an email, that content is hidden by default and must be manually displayed. The good news is, you can either view the content in that one message, or you can allow content from the sender so future emails won’t show any warning.
To view external content, click on the Show images or always show images from this sender text that appears at the top of the email message. Once you do this, the remote content will be displayed on that email going forward. Clicking on “always show images from this sender” will add an exception for that email address to the “Allow Inline Images From” list, which is found on the Webmail card in your Account settings. When an exception has been made for an email address, emails from that sender will display all remote content automatically. Note: Emails from Trusted Domains and Trusted Senders will always display remote content automatically.
To bypass this step, and allow remote content to be automatically displayed from all senders and sources, simply enable the Show images from external websites setting that appears as a toggle on the Webmail card in your Account settings.
Unsubscribe
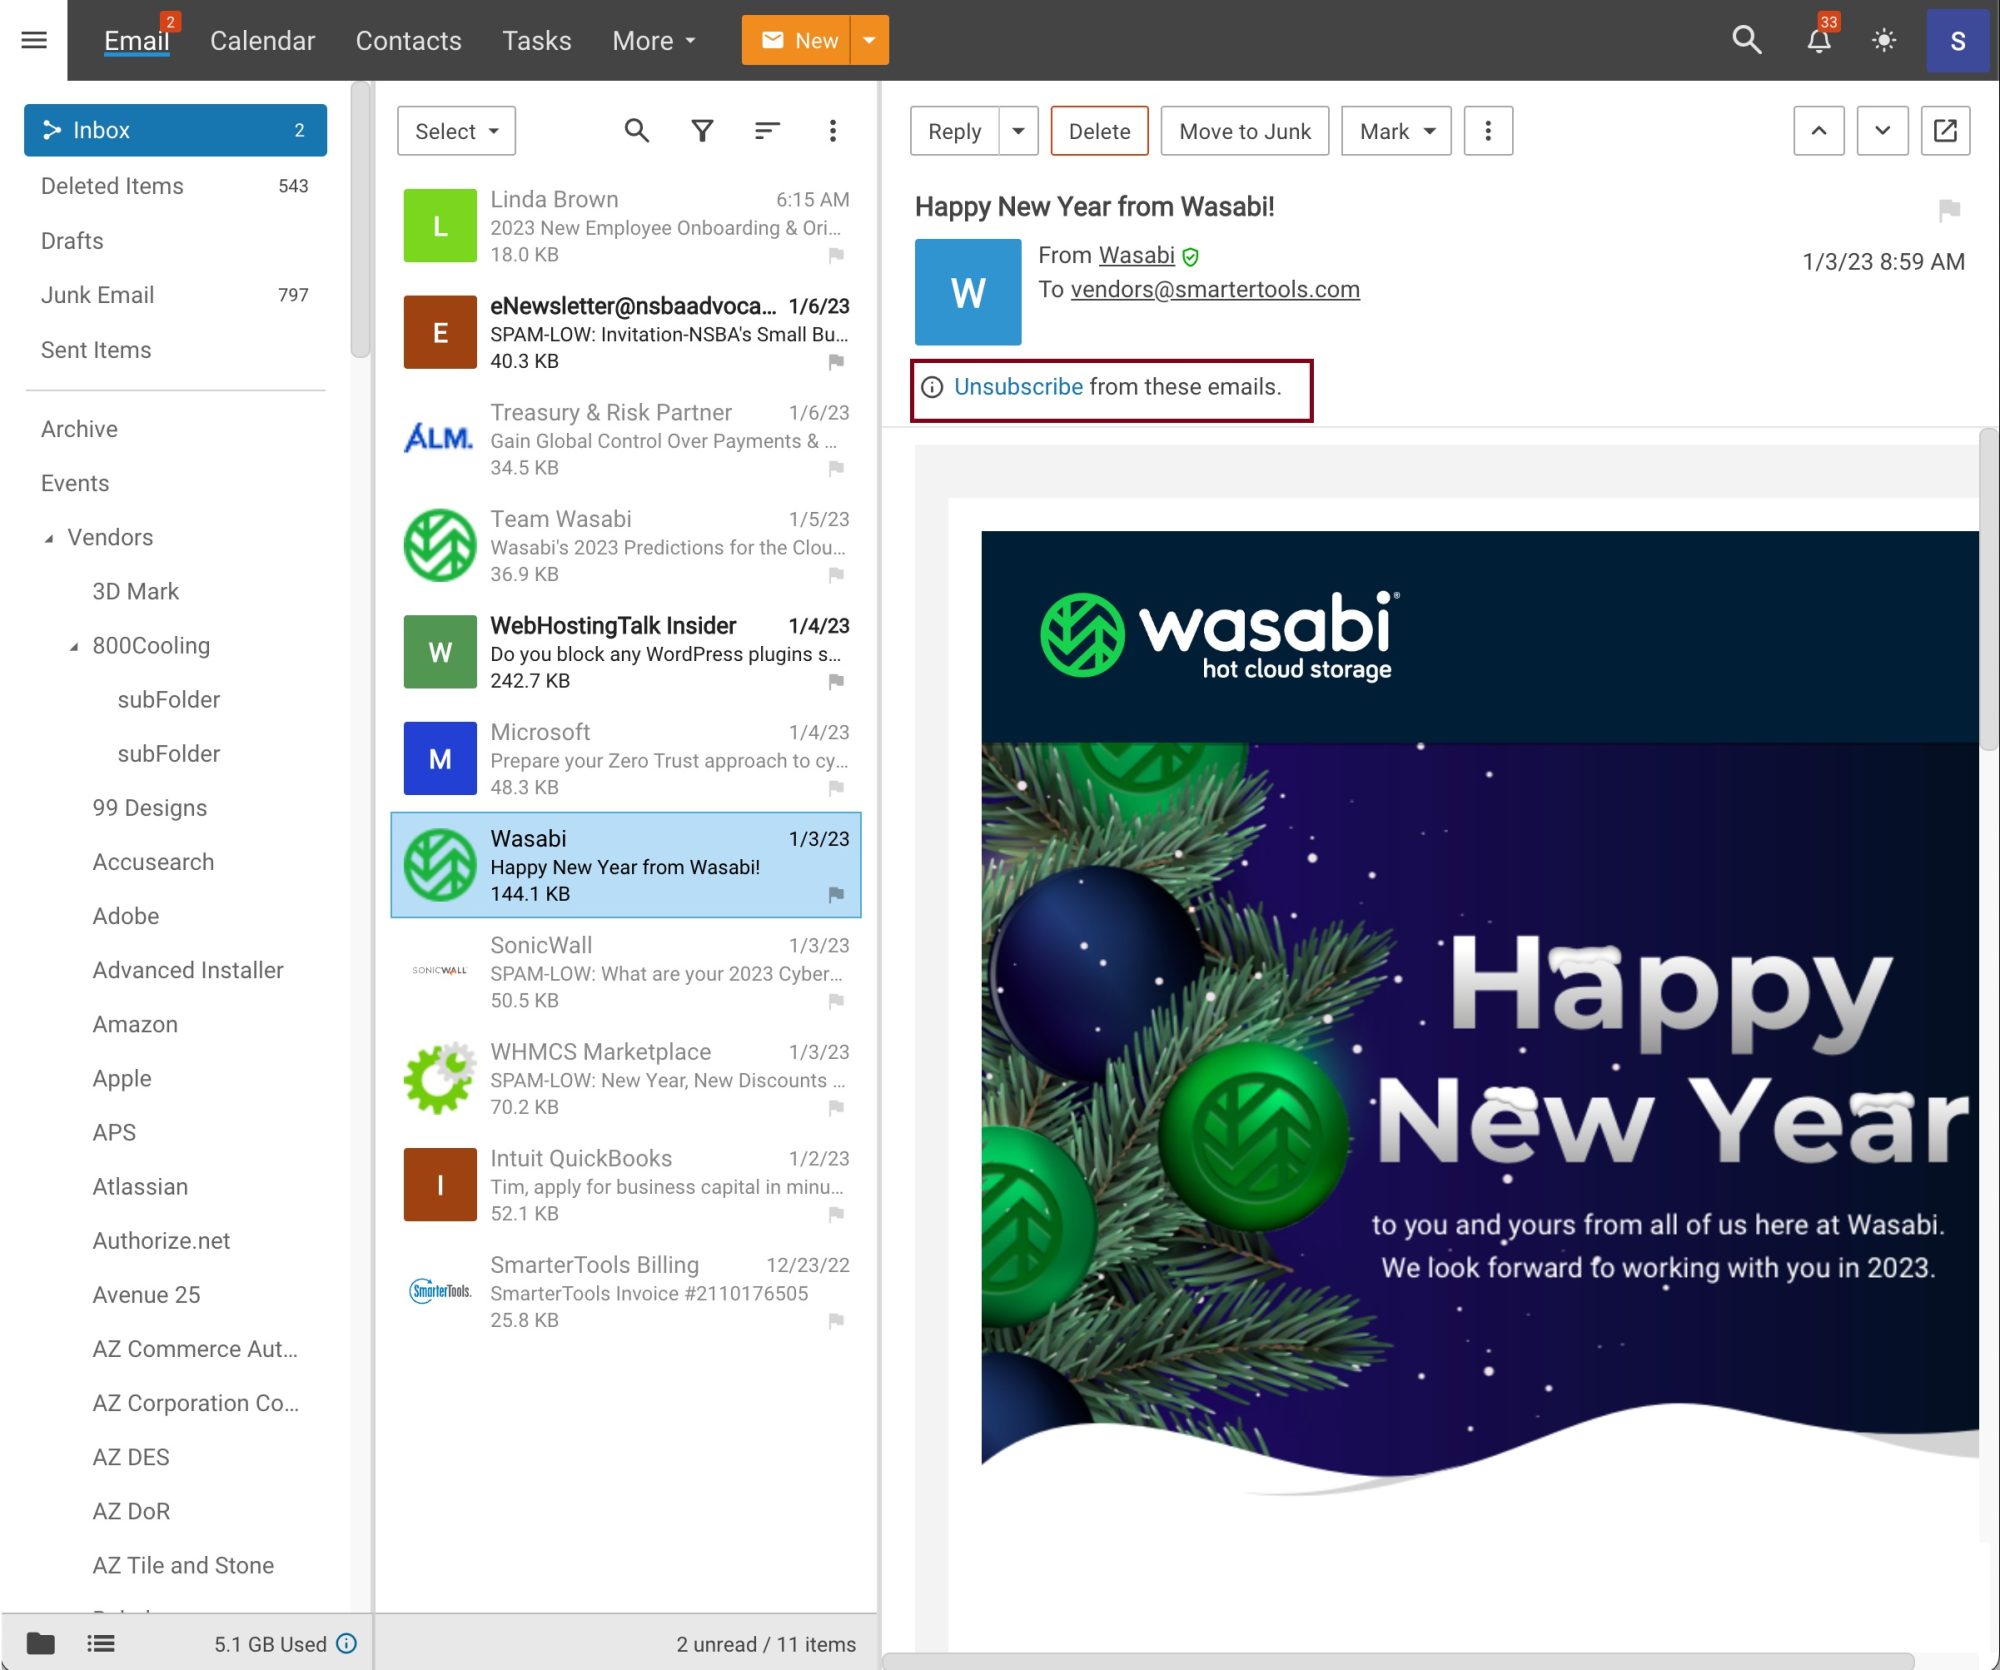
Messages that are from outside senders, especially messages that are potentially unsolicited, are advertisements, are newsletters, or are of a kind where the footer of the message offers recipients a way to unsubscribe from them will include a more obvious “Unsubcribe” button in the message’s header.
Clicking this button essentially automates the unsubscribe process for the recipient. This saves them from having to hunt down the unsubscribe link(s), clicking them, navigating through the various questions asked, confirmation of the unsubscribe request, etc. and simply ensures that the unsubscribe request is sent. Once clicked, a green toast notification appears confirming that the unsubscribe request was sent.
